
10 Steps on How to Create your Unique Fingerprint Charm
Here at Hold upon Heart, we want to make the creation of your fingerprint charm as easy as possible for you. Obviously we need some input from you, our lovely customers, but only from your finger and popping your mould in the post!
 Here is a brief step by step guide on how to create your unique fingerprint charm:
 - Once you have placed your order on our website, we will send you a fingerprint making kit within 24 hours. This kit will contain 2 pots of putty, one white and one blue along with an order summary, full instructions and a reply envelope.
- Clean the finger that is going to be used, whether it is yours, a child’s or another relative and ensure that the finger is dry.
- Remove the putty which will be in a plastic pot, from the package. Divide each ball of putty into two so you have four balls of putty. Take one white ball and one blue ball and rub between your fingers for 30 seconds only until the putties are completely mixed together and become all blue with no visible white streaks.
- The putty will harden relatively quickly so to ensure best results make sure the fingerprint is done immediately after you’ve mixed it!
- Roll the putty into a ball and then place on a non-sticky, flat surface such as a coaster. Then press the finger into the ball of putty and hold for a few seconds before removing. When you do remove the finger, lift it gently upwards as to avoid smudging the finer detail or accidentally creating a peak in the middle of the mould.
- Repeat the above process with the remaining two balls of putty so that we have two moulds to choose from
- Once you are happy with your moulds, write your order number, name and the name of the person who’s fingerprint it is (if it’s not yours) on the grip-seal bag provided.
- Check your fingerprint moulds once more to see if they are exactly as you want them and check your order summary carefully to make sure all your order details and contact details are correct, before putting it into the return envelope.
- Once you have waited around 5 minutes for the putty to completely harden, carefully put the moulds back into the plastic boxes and then into the grip seal bag. Put the grip seal bag into the return envelope together with the order summary and simply put into the post box!
- You should expect to receive your finished item within 28 working days from when we receive your fingerprint moulds in the studio.
If you have questions about taking your fingerprints, or about anything else, please drop us an email at studio@holduponheart.co.uk.
.
We hope this has been useful and we thoroughly look forward to making your fingerprint charm!
.

Leave a comment
Comments will be approved before showing up.
Also in THOUGHTS AND MUSINGS
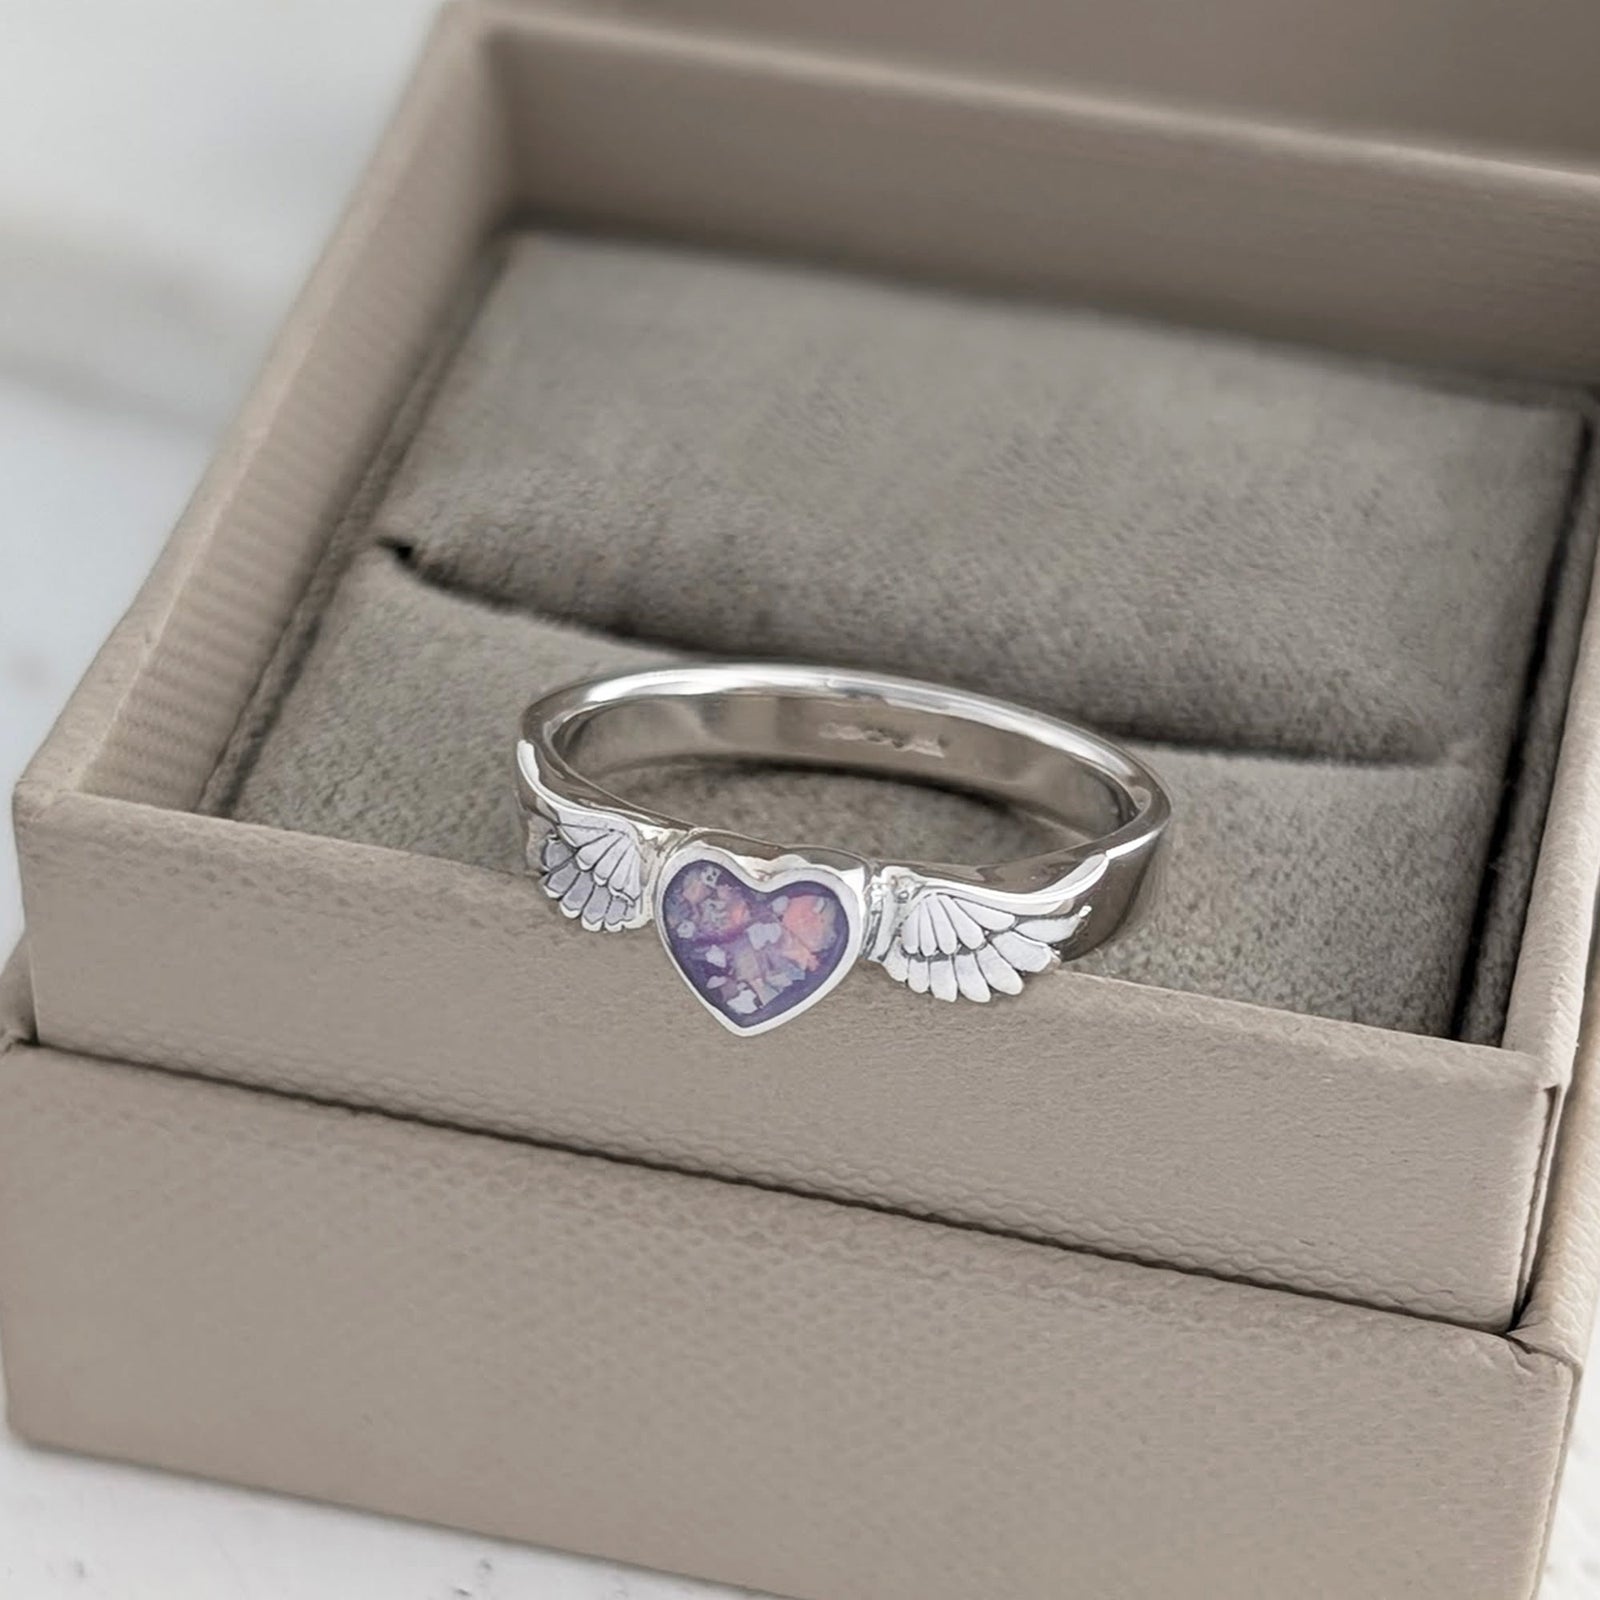

ASHES JEWELLERY - ALL YOU NEED TO KNOW
Choosing ashes jewellery is an incredibly personal decision. For many people, it offers a way to keep a small part of someone they love close to them, captured within a piece of jewellery that can be worn every day.
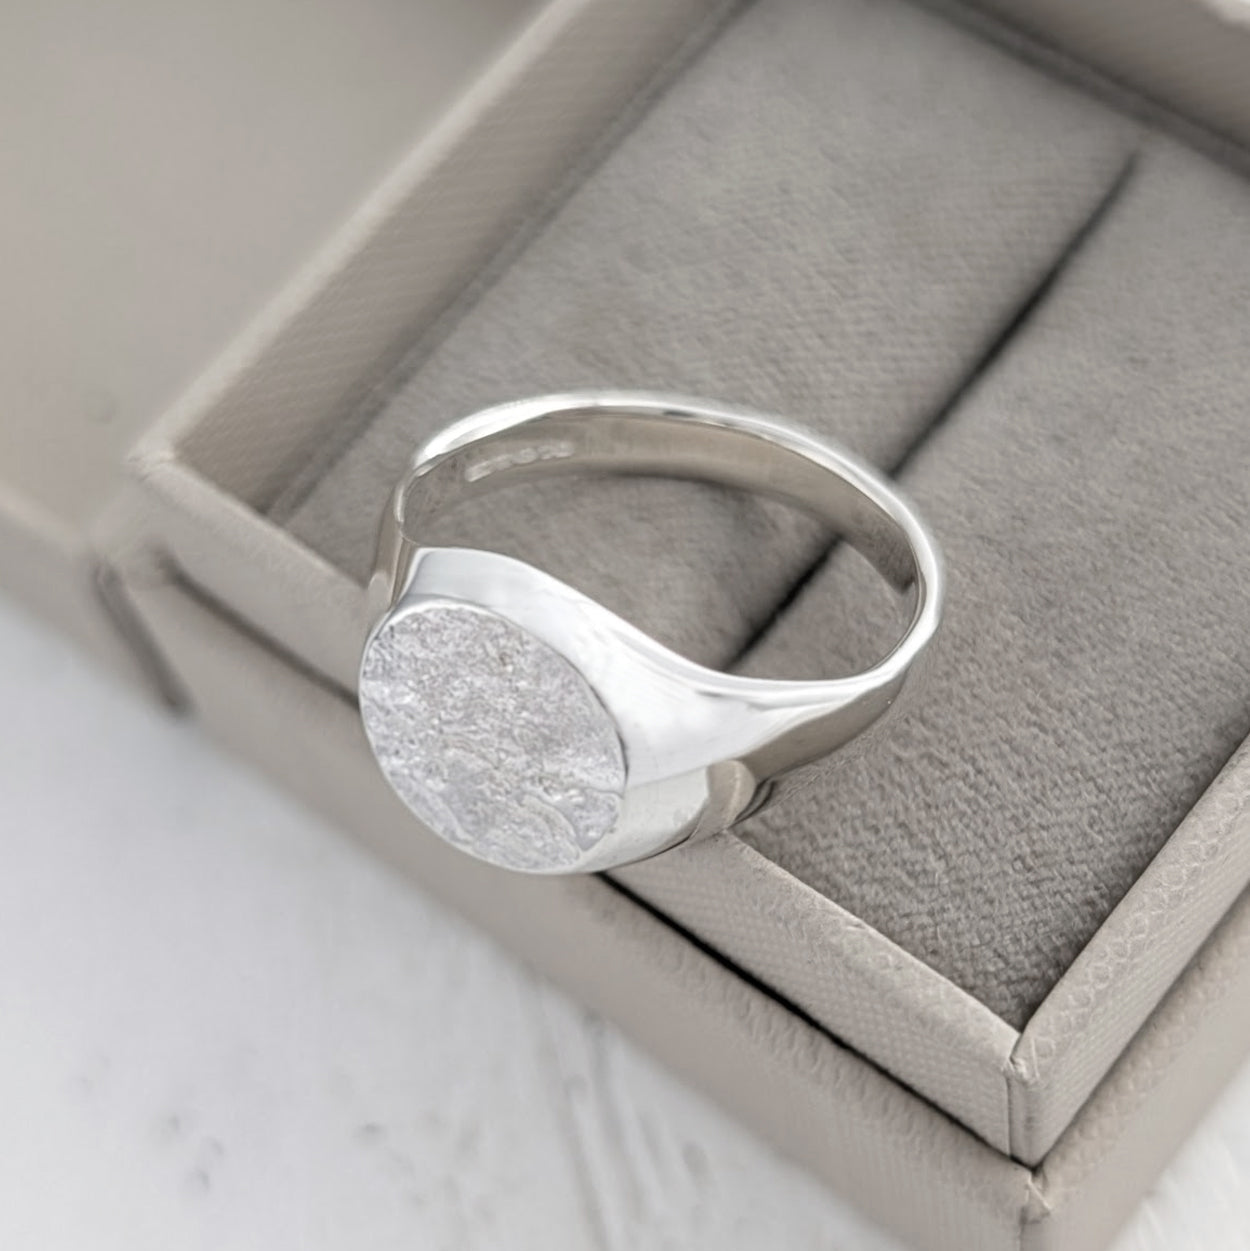

MEMORIAL ASHES JEWELLERY FOR MEN
Memorial jewellery is incredibly personal, but finding the right piece for a man can sometimes be surprisingly difficult.
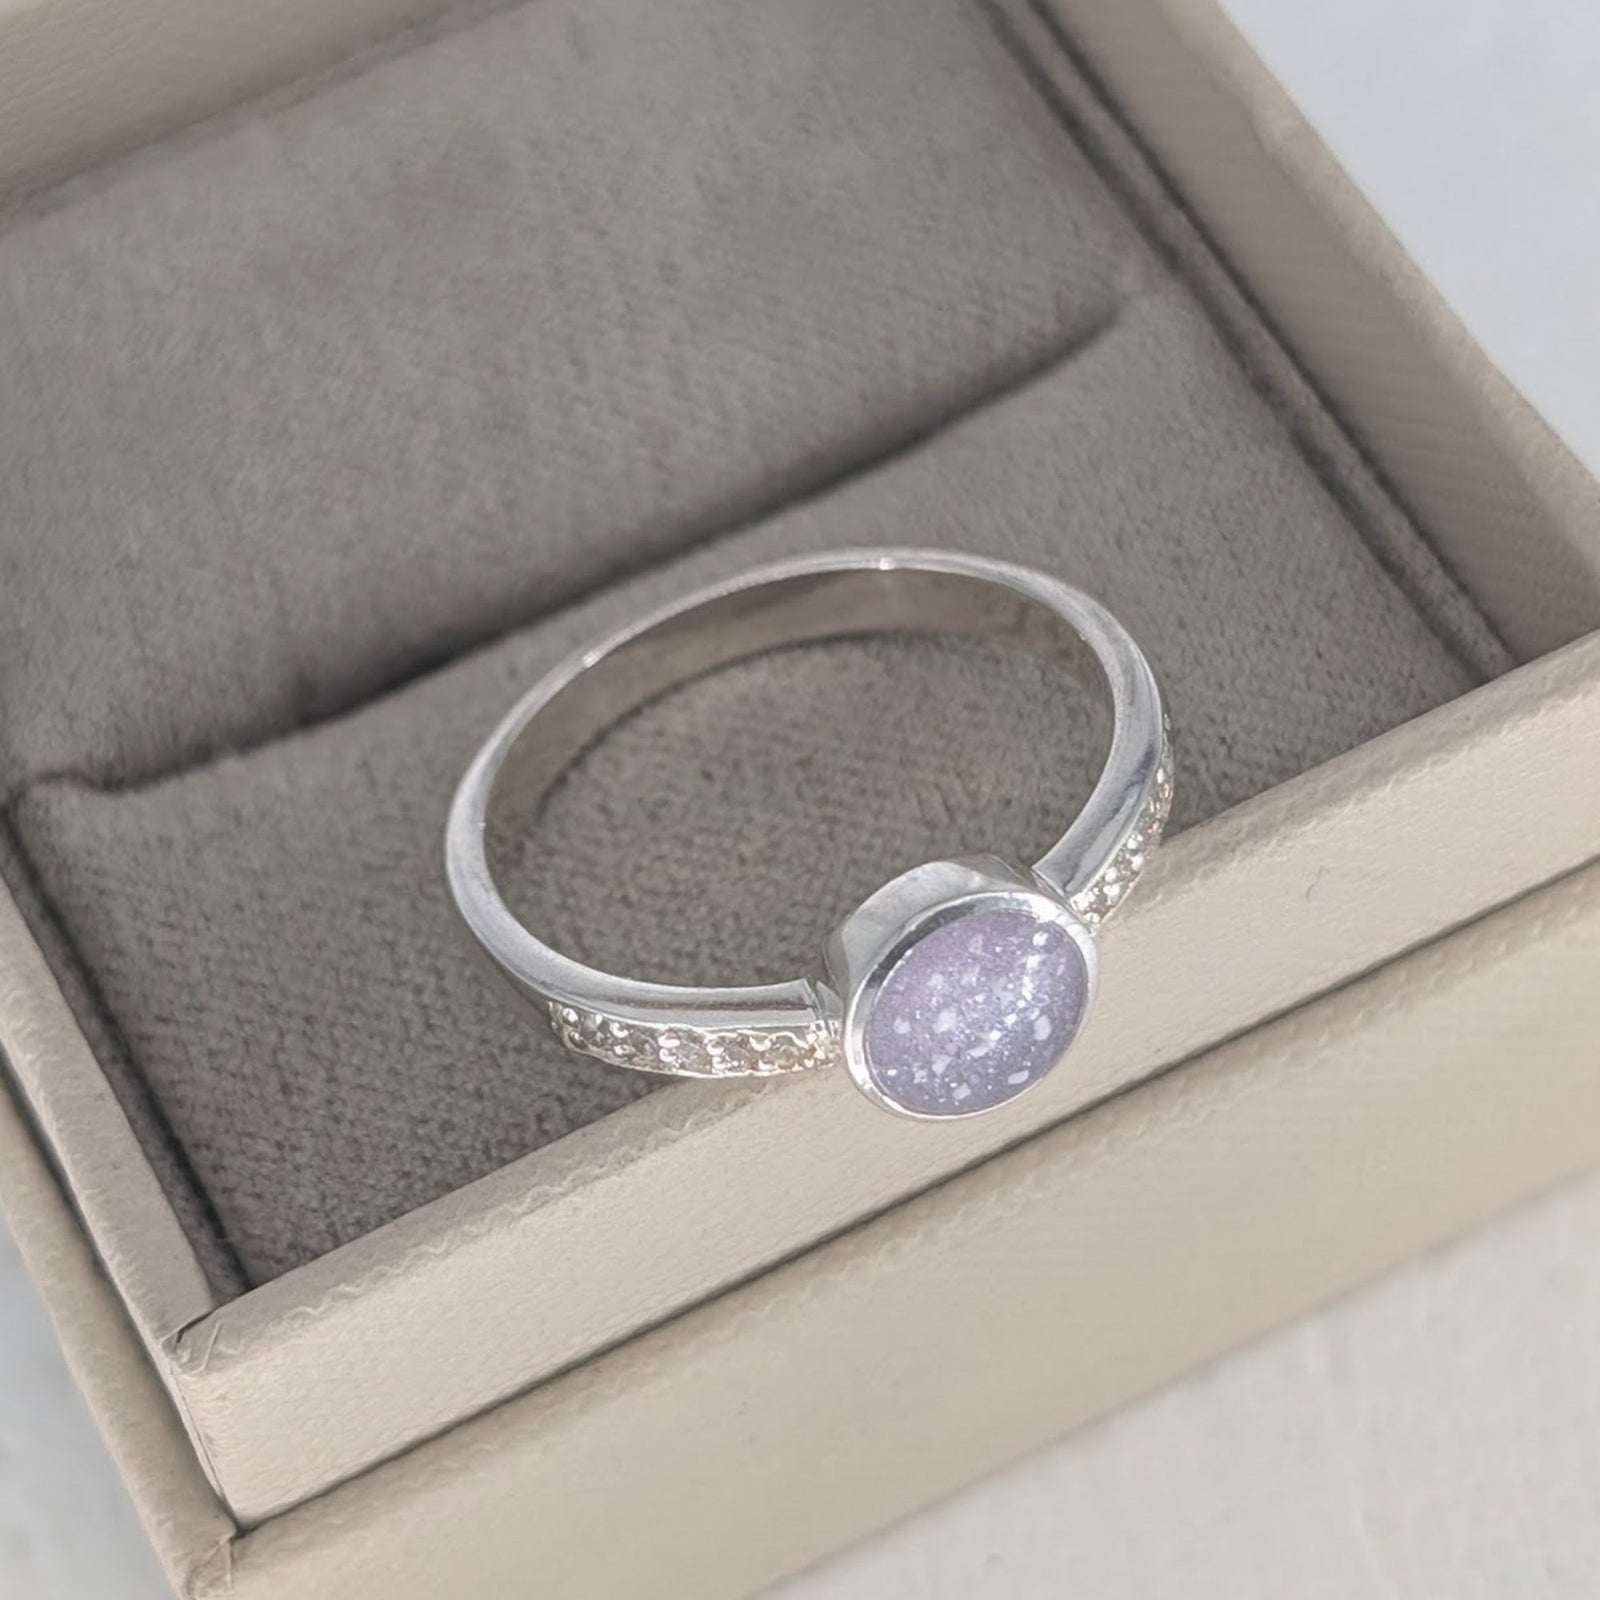

INTRODUCING STARDUST: HAND-FINISHED ASHES JEWELLERY
Choosing a piece of memorial jewellery is incredibly personal. For some people, the fact that their jewellery has been entirely handmade is an important part of its story. Others simply want to receive the finished piece as soon as possible...